Step 4: Implementation
Intents
An intent is an object that a component can use to communicate with the OS. We will use an intent to tell the ActivityManager to start an activity for selecting a contact.
Add the following to SupFragment.java after setting the button for mSelectFriend:
final Intent pickContact = new Intent(Intent.ACTION_PICK, ContactsContract.Contacts.CONTENT_URI);
The first argument is what kind of action we want - which is picking something. The second is a URI to the Contacts Provider.
Listeners
Now we will add a listener to the button to launch the intent. A listener is an object that responds to an event. In this case, our event is when the user presses the button.
Add this line below the intent you just created:
mSelectFriend.setOnClickListener(new View.OnClickListener() {
    @Override
    public void onClick(View v) {
        startActivityForResult(pickContact, REQUEST_CONTACT);
    }
});
This passes in an anonymous class implementing the View.OnClickListener interface. It calls startActivityForResult with our pickContact intent because it expects a result from the activity.
You'll notice that we didn't define REQUEST_CONTACT yet. This is a request code sent to the child activity and is received back by the parent. This is more useful for the parent to distinguish which type of child activity has reported back if it's started multiple activities. Even though we're starting only one child activity, this is a good practice to follow.
We will define REQUEST_CONTACT as follows:
private static final int REQUEST_CONTACT = 0;
Calling startActivityForResult() will give us an intent containing the URI to the selected contact. Thus, we will need to override onActivityResult() in SupFragment.java:
@Override
public void onActivityResult(int requestCode, int resultCode, Intent data) {
    if (resultCode != Activity.RESULT_OK) {
        return;
    }
    if (requestCode == REQUEST_CONTACT && data != null) {
        Uri contactUri = data.getData();
        populateName(contactUri);
    }
}
Populating the Name
We now need to implement populateName(), which will get the name of the contact chosen. We will query the contacts database using the URI we got back. The implementation below follows how to use the Android SQLite Library.
Add this to SupFragment:
/**
 * Retrieves the contact name and phone number from Address Book
 * @param contactUri
 */
private void populateName(Uri contactUri){
    String[] queryFields = new String[] {
        ContactsContract.Contacts.DISPLAY_NAME,
        ContactsContract.Contacts.HAS_PHONE_NUMBER,
        ContactsContract.Contacts._ID
    };

    Cursor cursor = getActivity().getContentResolver()
            .query(contactUri, queryFields, null, null, null);
    try {
        if (cursor.getCount() == 0) {
            return;
        }
        cursor.moveToFirst();
        int nameColumnIndex = cursor.getColumnIndex(ContactsContract.Contacts.DISPLAY_NAME);
        String name = cursor.getString(nameColumnIndex);

        mFriend.setFriendName(name);
        mSelectFriend.setText(name);

        if (name != null) {
            int hasPhoneColumnIndex = cursor.getColumnIndex(ContactsContract.Contacts.HAS_PHONE_NUMBER);
            int idColumnIndex = cursor.getColumnIndex(ContactsContract.Contacts._ID);
            String hasPhone = cursor.getString(hasPhoneColumnIndex);
            String id = cursor.getString(idColumnIndex);

            populatePhoneNumber(hasPhone.equalsIgnoreCase("1"), id);
        }
    } finally {
        if (cursor != null) {
            cursor.close();
        }
    }
}
Create a POJO
Now we need to create a private field to store the information we get back. As you can guess based on the error Android Studio is giving you now, we will need to create a class for mFriend. Let's call this the Friend class. First, add this to SupFragment:
private Friend mFriend;
Next, create a java class named Friend in com.uci.android101.sup. (You should know how to create new classes by now :) )
This is your standard POJO (Plain Old Java Object); add this to the class:
private String mFriendName;
private String mPhoneNumber;

public String getPhoneNumber() {
    return mPhoneNumber;
}

public void setPhoneNumber(String phoneNumber) {
    this.mPhoneNumber = phoneNumber;
}

public String getFriendName() {
    return mFriendName;
}

public void setFriendName(String friendName) {
    this.mFriendName = friendName;
}
Now let's go back to SupFragment.java. Put this line at the beginning of onCreateView so that we prevent getting a NullPointerException:
if (mFriend == null) {
    mFriend = new Friend();
}
We'll also create the populatePhoneNumber() function that populateName calls. Add this to SupFragment:
/**
 * Retrieves the phone number from Address Book
 * @param hasPhone true if phone number is found, false otherwise
 * @param id id of the contact
 */
private void populatePhoneNumber(boolean hasPhone, String id){
    String phoneNumber = null;
    if (hasPhone) {
        Cursor phones = getActivity().getContentResolver()
        .query(ContactsContract.CommonDataKinds.Phone.CONTENT_URI, null,
        ContactsContract.CommonDataKinds.Phone.CONTACT_ID + " = " + id,
           null, null);
        try {
            phones.moveToFirst();
            phoneNumber = phones.getString(phones.getColumnIndex("data1"));
        } finally {
           if (phones != null) {
                phones.close();
           }
        }
    }
    mFriend.setPhoneNumber(phoneNumber);
}
Permissions
We need to request permissions from the Android OS in order to be able to get the contacts info. Permissions is a security mechanism - that way, apps don't have arbitrary access to your data. We need to add a permission to read ContactsContract.Contacts._ID from the contacts database to get the phone number in the CommonDataKinds.Phone table. Add the following tag in /manifests/AndroidManifest.xml:
<uses-permission android:name="android.permission.READ_CONTACTS" />
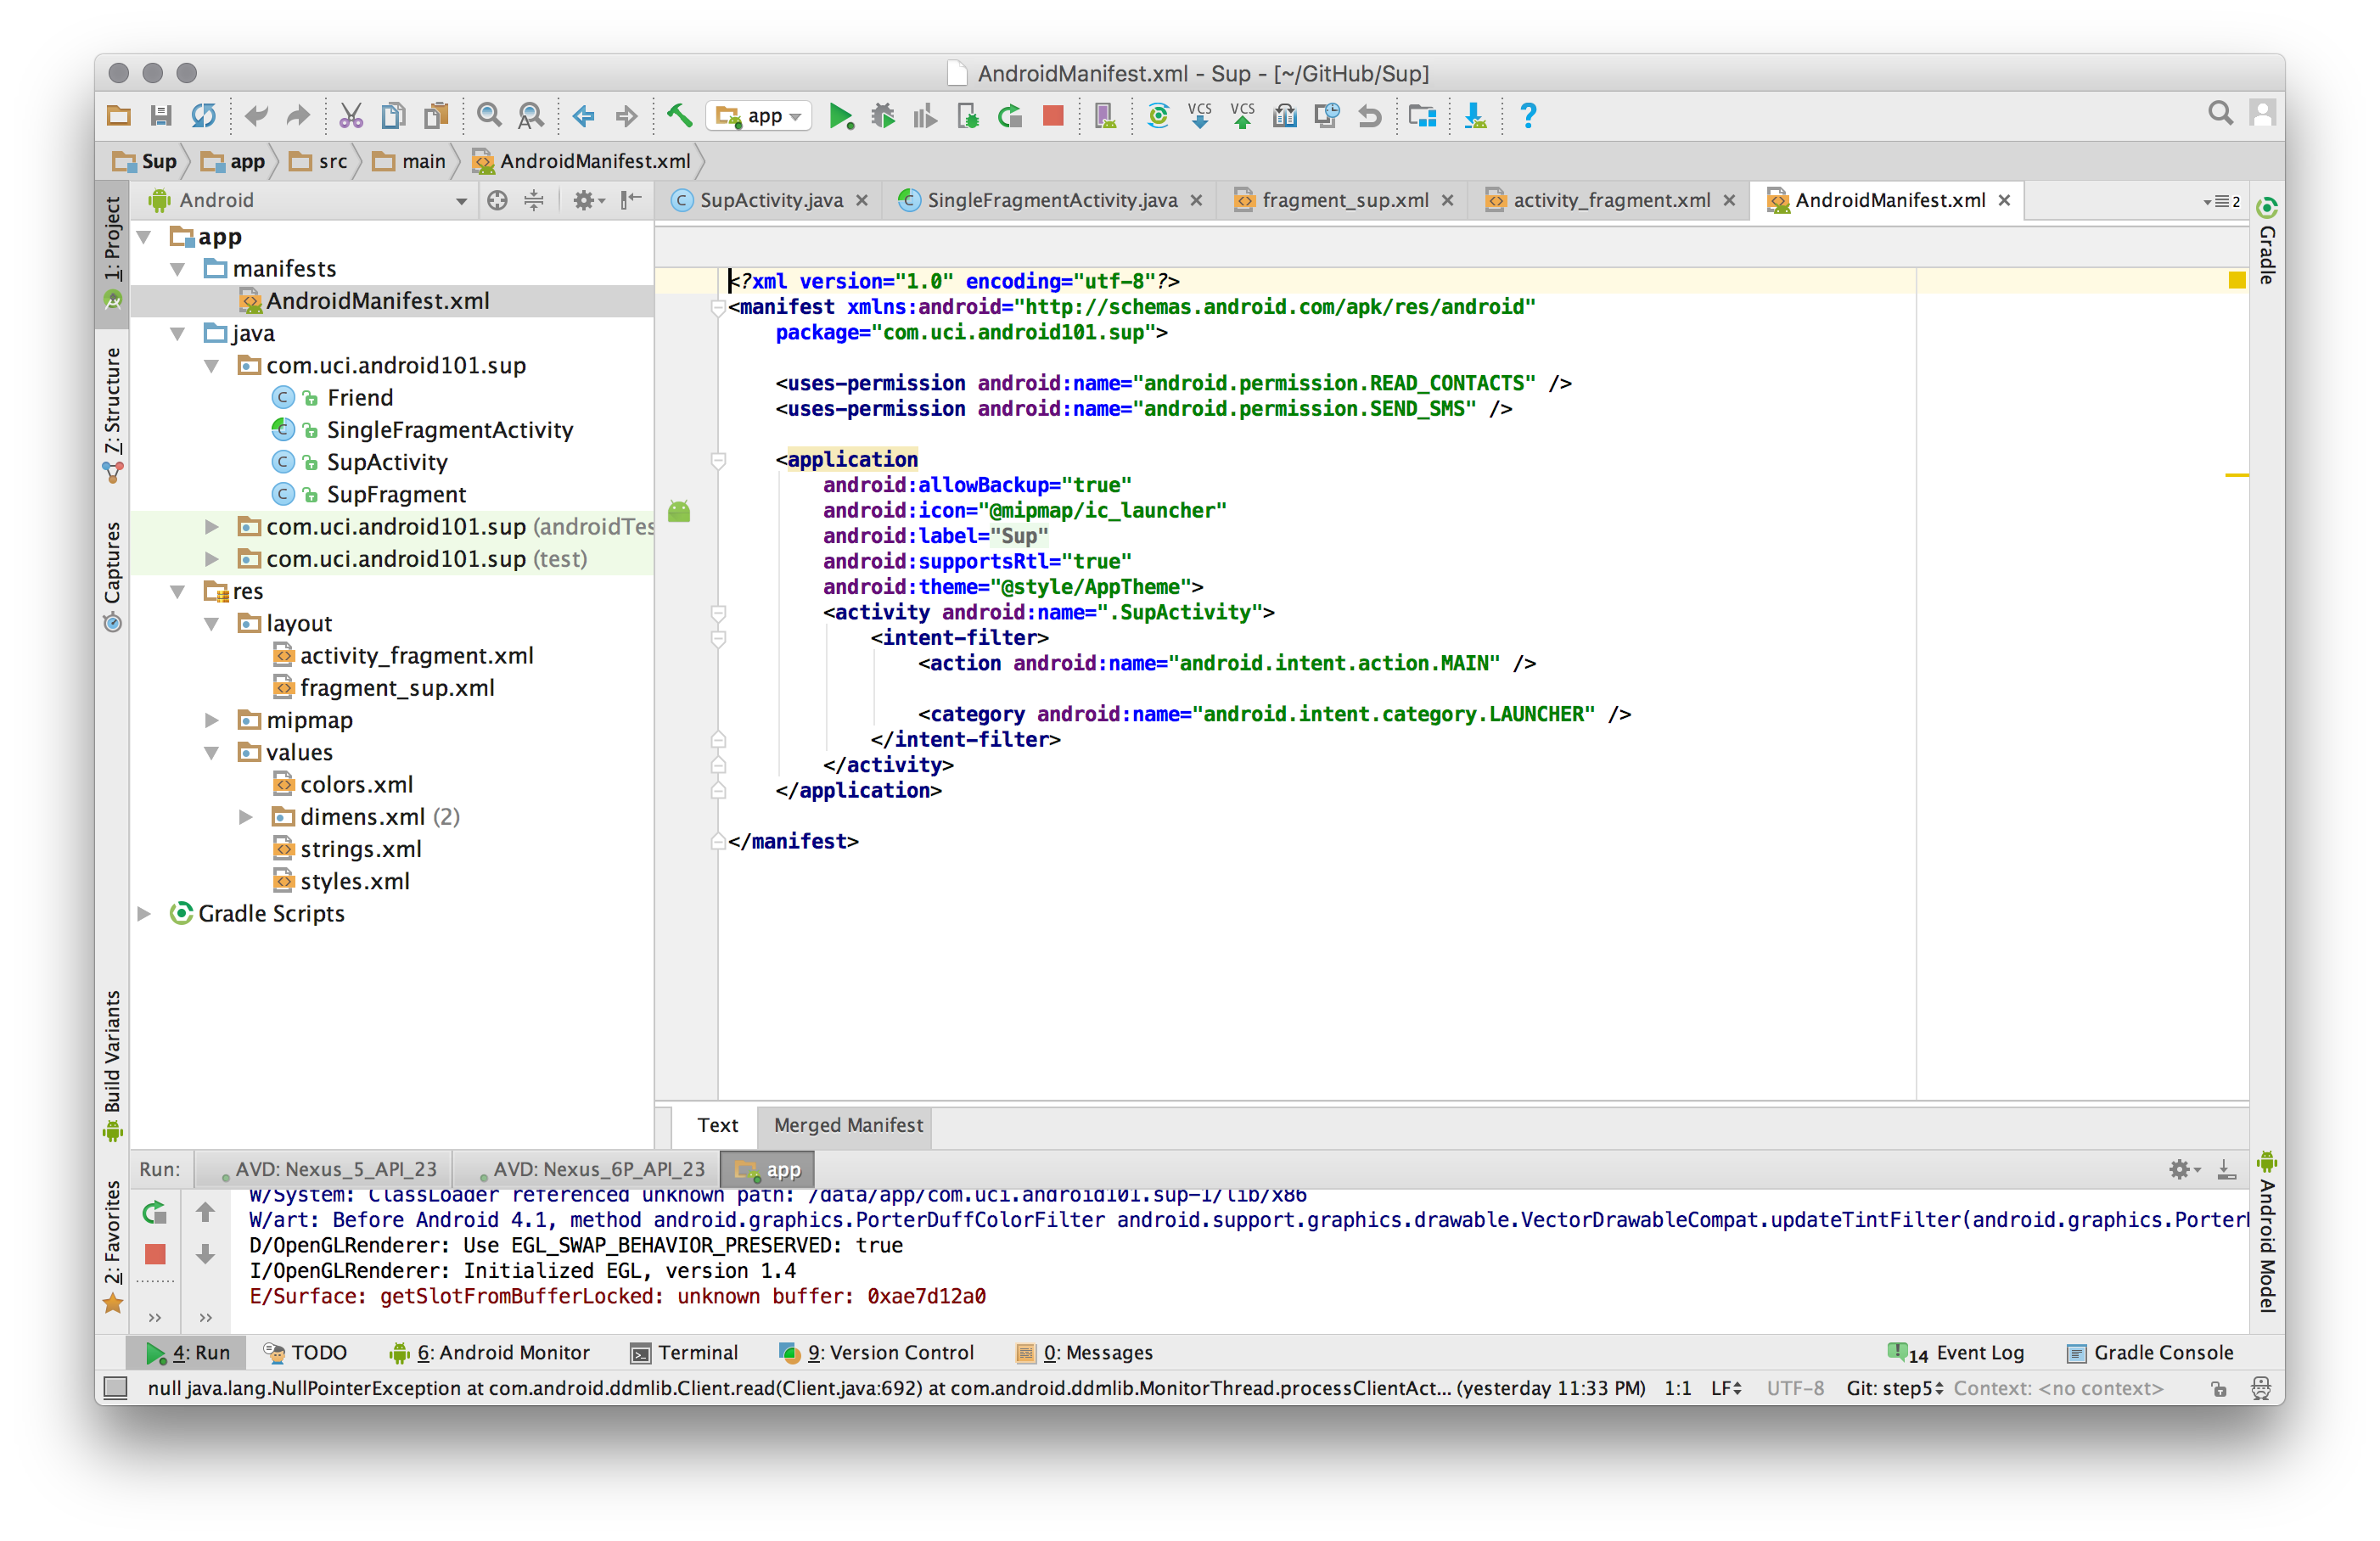
This is what your AndroidManifest.xml should look like now:
Now press Play to run your app. You should now be able to press the SelectFriend button, choose a contact, and see the text on the SelectFriend change to your contact's name.
Rotation Bug
In the app, try selecting a contact, then rotating your device or emulator. If you're on an emulator, look for the rotation icon.
You will notice that the name of the contact you selected disappears, and you end up going back to the original screen with the SelectFriend button.
This is because Android, by default, destroys and recreates the parent activity when the device is rotated. We will want to save data across rotation. To do this, we will store our data in a Bundle.
Let's go to SupFragment.java and override onSaveInstanceState(). Add this after super.onSaveInstanceState():
if (mFriend != null) {
    outState.putString(SAVED_STATE_FRIEND_NAME, mFriend.getFriendName());
    outState.putString(SAVED_STATE_FRIEND_PHONE_NUMBER, mFriend.getPhoneNumber());
}
Add the missing constants at the top of SupFragment.java
private static final String SAVED_STATE_FRIEND_NAME = "SAVED_STATE_FRIEND_NAME";
private static final String SAVED_STATE_FRIEND_PHONE_NUMBER = "SAVED_STATE_FRIEND_PHONE_NUMBER";
Now we need to display the saved contact info. Add the following to onCreateView() after the null check on mFriend:
String savedContactName = null;
if (savedInstanceState != null){
    savedContactName = savedInstanceState.getString(SAVED_STATE_FRIEND_NAME);
    String number = savedInstanceState.getString(SAVED_STATE_FRIEND_PHONE_NUMBER);

    mFriend.setFriendName(savedContactName);
    mFriend.setPhoneNumber(number);
}
Then we set the text on the SelectFriend button if savedContactName has been set. Add the following after we get a reference to the SelectFriend button:
if (savedContactName != null) {
    mSelectFriend.setText(savedContactName);
}
Press Play again and now you can verify that your selected contact's name is added back to the Select Friend button even if you rotate your screen.
Send Button
Now that we have a contact's name and phone number, we can send an SMS once the user presses the SendButton. Add this at the end of onCreateView() after we get a reference to SendButton:
mSendButton.setOnClickListener(new View.OnClickListener() {
    @Override
    public void onClick(View v) {
        if (mFriend.getPhoneNumber() != null) {
            sendSup();
        } else {
            sendCustomizedSupWithoutPhoneNumber();
        }
    }
});
Now we want to just implement sendSup().
/**
 * Method responsible for sending sup message
 */
private void sendSup() {
    SmsManager smsManager;
    try {
        smsManager = SmsManager.getDefault();
        smsManager.sendTextMessage(mFriend.getPhoneNumber(), null, getString(R.string.message), null, null);
        Toast.makeText(getActivity().getApplicationContext(), getString(R.string.sent),
                Toast.LENGTH_LONG).show();
    } catch (Exception e) {
        Toast.makeText(getActivity().getApplicationContext(),
                getString(R.string.sup_error),
                Toast.LENGTH_LONG).show();
        e.printStackTrace();
    } finally {
        mSelectFriend.setText(getString(R.string.select_friend));
        mFriend = new Friend();
    }
}
We send an SMS message using SmsManager.sendTextMessage() to the phone number stored. Then, we display a toast to notify the user that the text was sent by using R.string.sent resource, or that there was an error, using R.string.sup_error. In the finally block, we reset the text for SelectFriend.
An Alternative Flow
Since both buttons display on the screen even if a user is not set, we need to respond to the user when they tap the send button. Responding to invalid states, such as this, is part of good user experience (UX) design.
We have one more unimplemented function. Add this to SupFragment.java:
/**
 * Method responsible for sending howdy message without phone number
 */
private void sendCustomizedSupWithoutPhoneNumber(){
    Toast.makeText(getActivity().getApplicationContext(), R.string.noPhoneNumber, Toast.LENGTH_SHORT).show();

    Intent i = new Intent(Intent.ACTION_SEND);
    i.setType("text/plain");
    i.putExtra(Intent.EXTRA_TEXT, getString(R.string.message));
    startActivity(i);
}
This method is called in the case just described. It displays a toast to notify the user that a phone number hasn't been selected, and allows the user to send "Sup" using another application that supports the SEND action.
Finally, add one more permission to AndroidManifest.xml:
<uses-permission android:name="android.permission.SEND_SMS" />
Run Your App
Press Play and send someone a Sup!
Note: If you're using an emulator, you won't be able to send an SMS to a real number. Instead, you can spin up a new emulator and send a text to that emulator. You'll find the last four digits in the toolbar at the top of the window. This will be the number to add as a contact. Add it to your first emulator as a contact and send a Sup to that contact.
