Step 1: Hello World
Start Up Android Studio
- Open up Android Studio and select Start a new Android Studio project.
- Choose your application name. Let's call ours Sup. In general, keep these in mind for application names:
- Don't use hyphens or special characters.
- Don't use Java reserved keywords.
- Don't use package names beginning with digits.
- Choose a company domain. Let's use android101.uci.com. In general, make sure to follow the same rules as above.
- You can change the project location if you'd like, but we're going to leave it as is.
- On the next page, select Phone and Tablet. Choose minimum SDK as API 16: Android 4.1 (Jelly Bean). This indicates the lowest API that this app is guaranteed to work in.
- Click next, and then Android Studio will begin installing the SDK components.
- On the template page, select Empty Activity.
- Change the Activity Name to SupActivity.
- Click finish.
Android Studio
In Android Studio, we have your Project File tree on the left, and your code workspace on the right. At the top, we have a toolbar, and highlighted in the screenshot below are the ones we'll be interacting with the most.
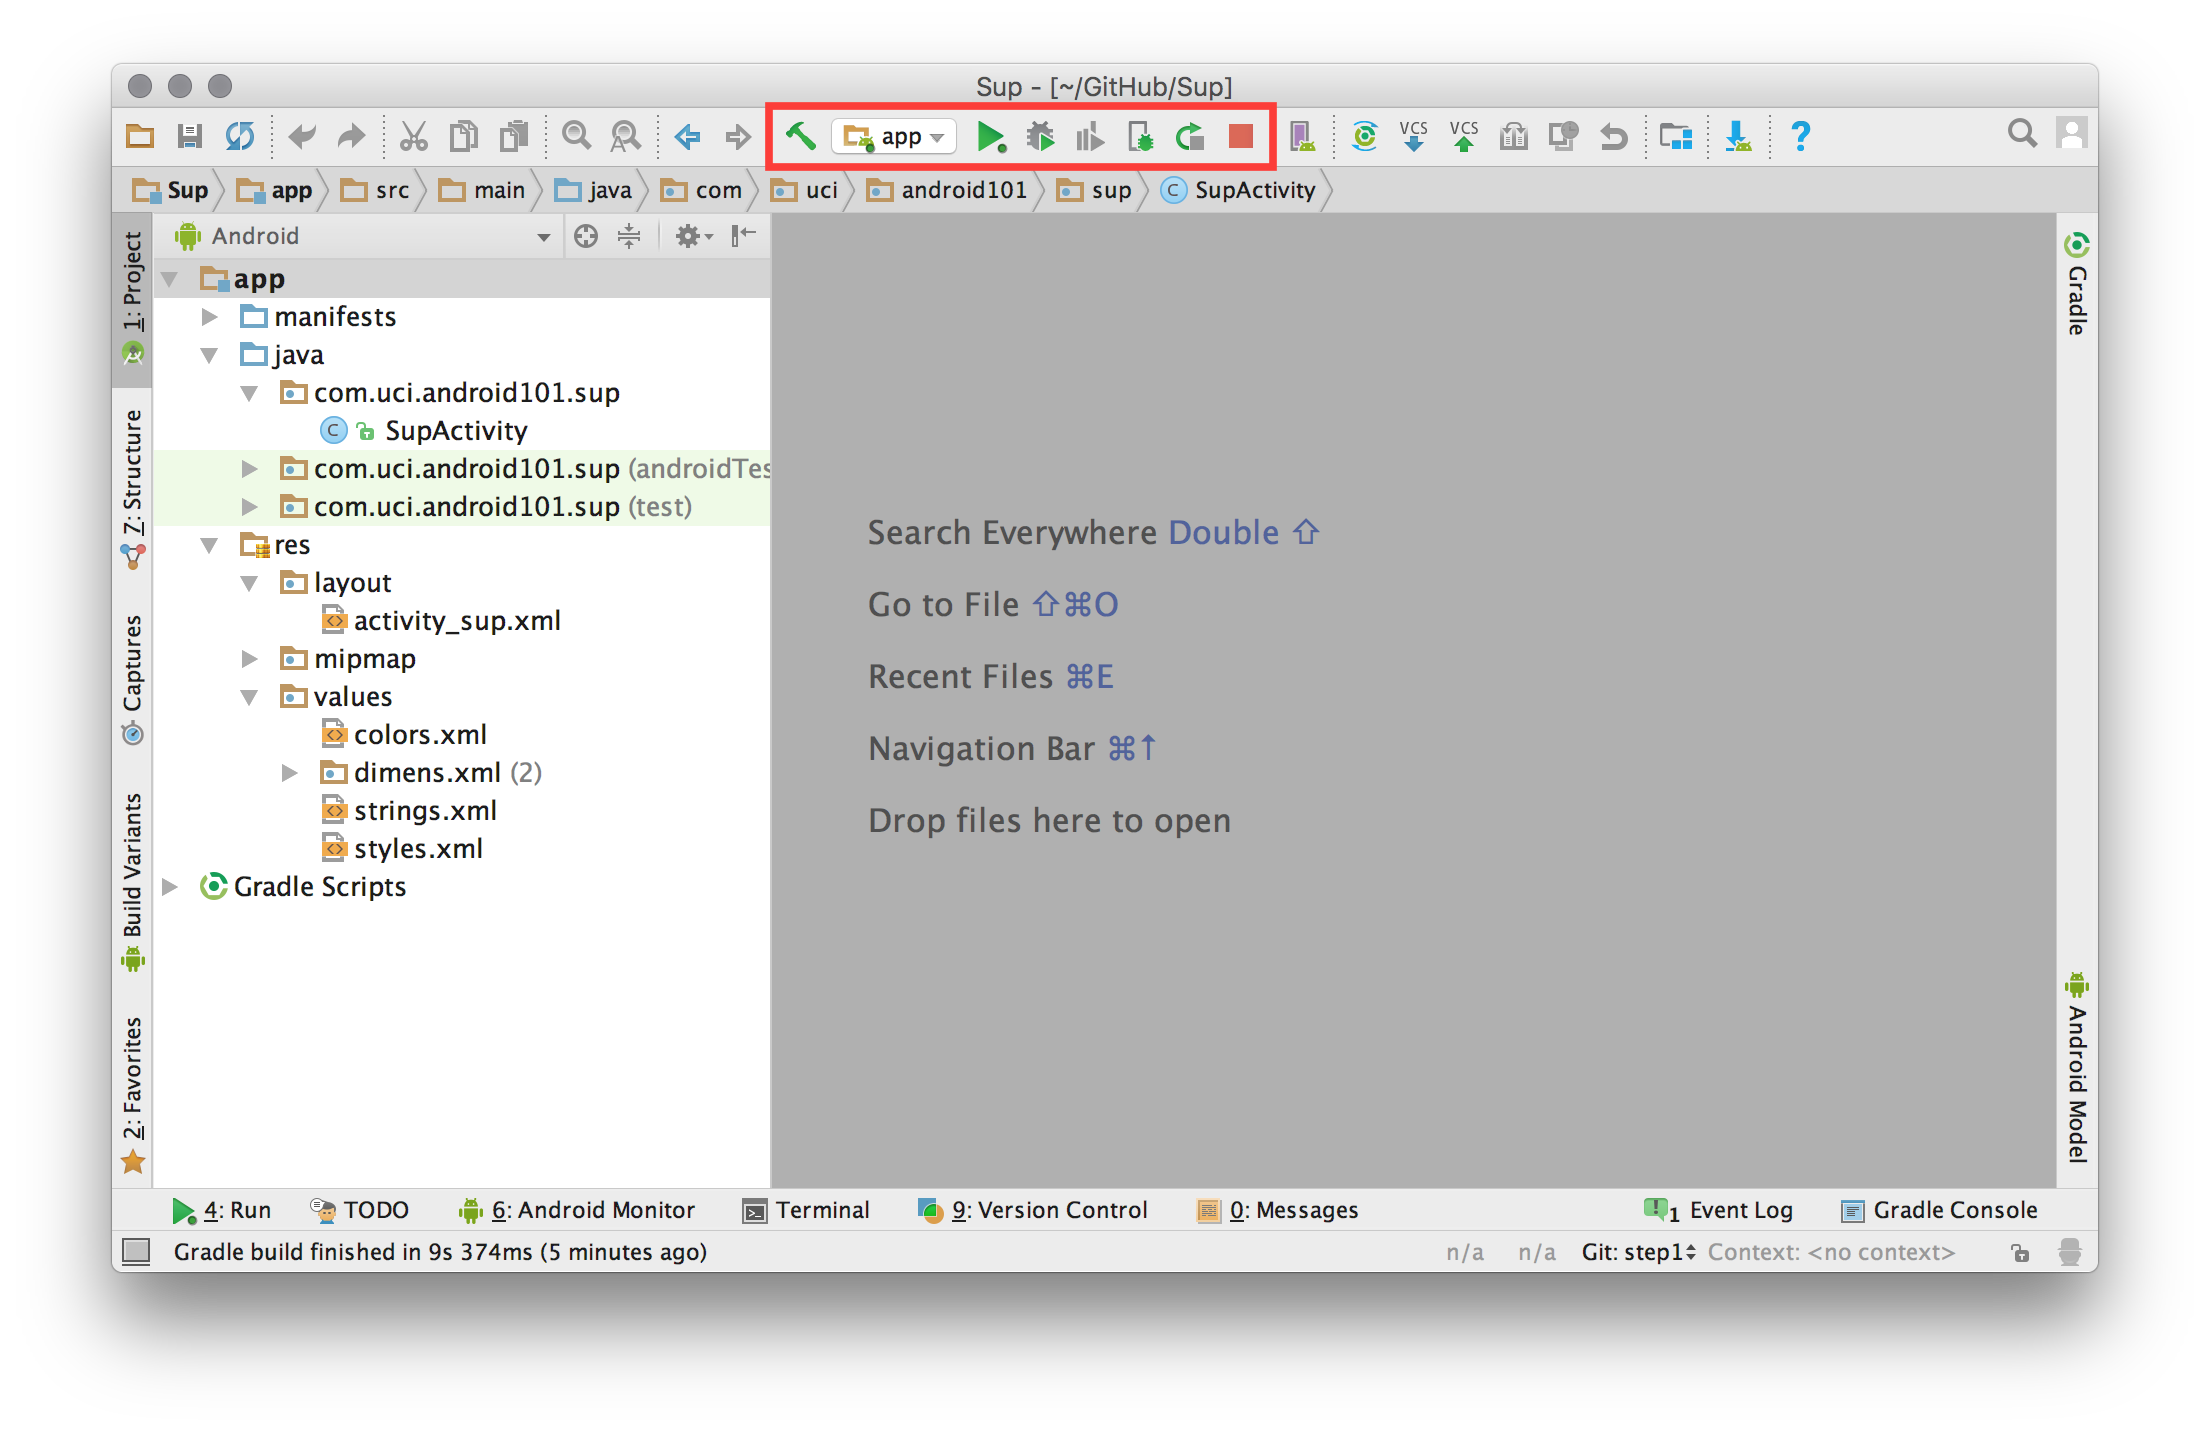
- The green play button is used to run whatever task you have specified in the dropdown menu to the left of it.
- By default, the dropdown menu is set to the application you're building now.
- To the right of the play button, we have a green bug that is used to debug and step through your code.
Activity
Open up /java/com/uci/android101/SupActivity.java.
Android apps are made up activities, which are actions that users can take. They're responsible for managing an application's visual interaction with its users. This is the basic unit of the Android app. Generally, we want to use just one activity per page.
Layout
Open up /res/layout/activity_sup.xml.
By default, this will show the Design view. At the bottom of the main window, you can switch between Design and Text. For our purposes, select Text. If the Preview tab is open, you can see this tab is useful for previewing your layouts. However, it does burn a lot of memory, so to reduce that, you can collapse this tab.
This is a resource file that allows us to define a set of UI objects (or widgets) and their positioning. The default layout contains two components: RelativeLayout and TextView. We'll be seeing shortly what these look like.
For widgets, keep in mind that they all require android:layout_width and android:layout_height. For layout. Layout widgets require android:orientation. These are fairly self explanatory, but we'll explain these widgets' properties a little later on.
Android Manifest
Open up /manifests/AndroidManifest.xml.
Each Android app must have one AndroidManifest.xml named exactly that. It defines your package information and all of the components that are required to make this app, including activities, services, broadcast receivers, content providers, etc. It also manages securities and permissions.
In your AndroidManifext.xml, you can see that SupActivity is defined for you by default. It includes a couple of intent-filters to tell your app that you would like to open this activity when it starts up.
Run Your App
- Click the green arrow in your toolbar.
- Select the virtual device you created earlier.
- If an pop up shows up asking about an Instant Run, you can just Proceed without Instant Run.
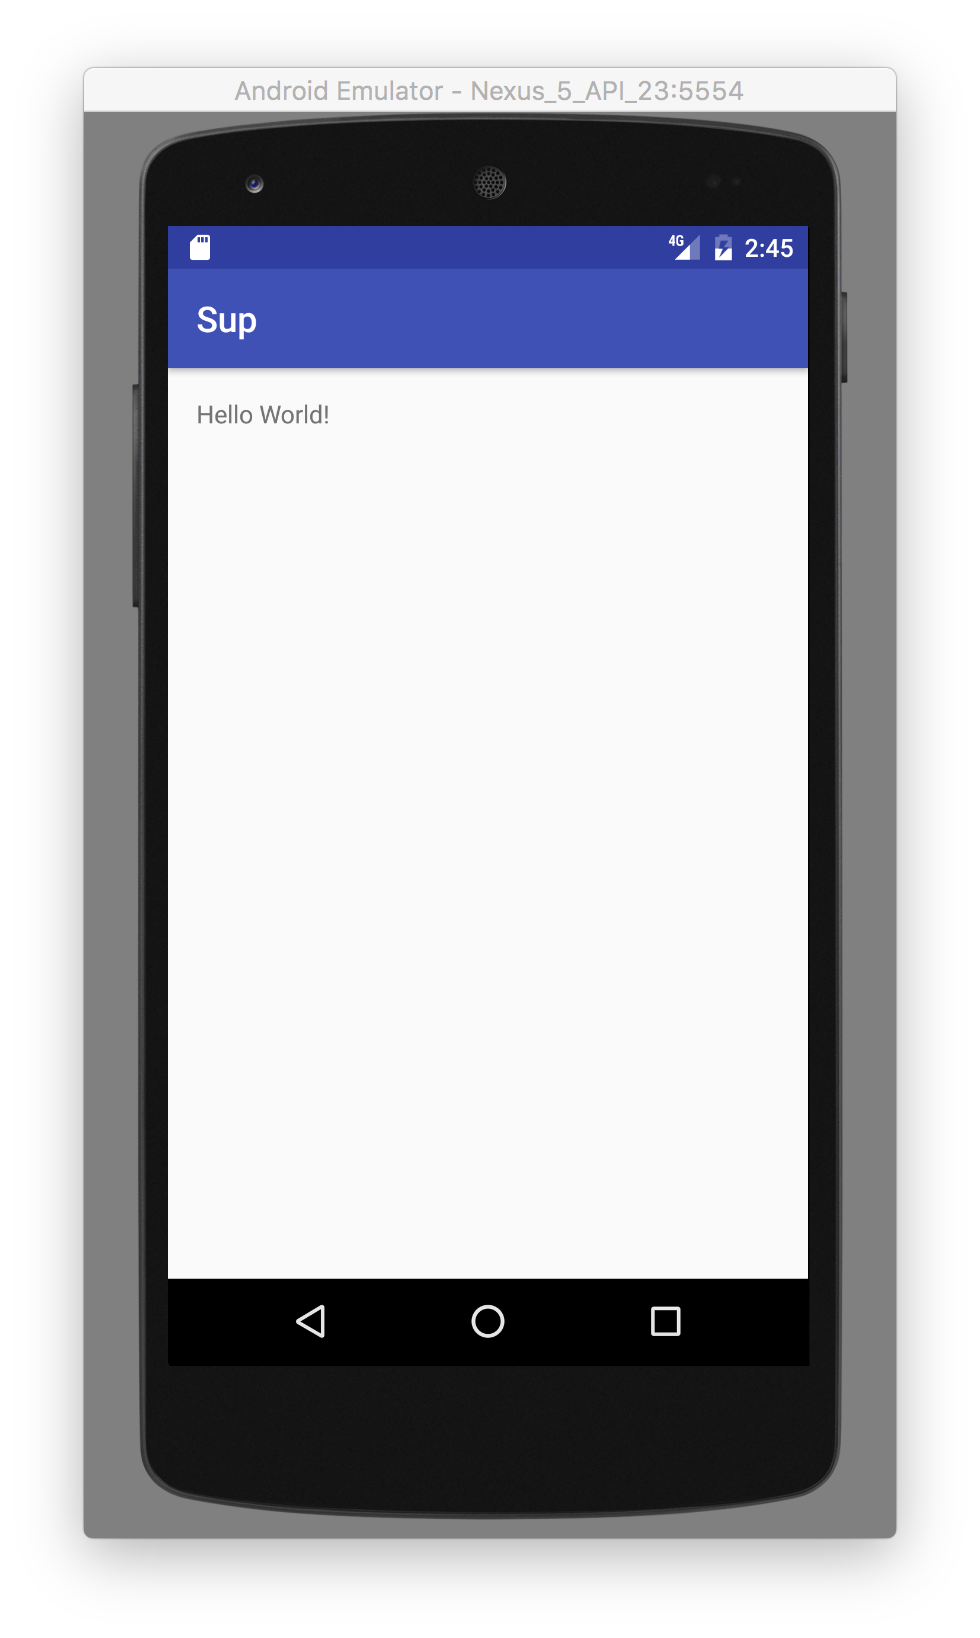
- Your emulator should start up and show your app running.
Note: if you are using your own device, you may need to enable USB debugging in your Developer Tools.
Your app should look like this: