Step 2: Widgets and Resources
Adding widgets
Open up /res/layout/activity_sup.xml. Replace the entire file with this:
<?xml version="1.0" encoding="utf-8"?>
<LinearLayout
    xmlns:android="http://schemas.android.com/apk/res/android"
    xmlns:tools="http://schemas.android.com/tools"
    tools:context=".SupActivity"
    android:layout_width="match_parent"
    android:layout_height="match_parent"
    android:orientation="vertical"
    android:paddingBottom="@dimen/activity_vertical_margin"
    android:paddingTop="@dimen/activity_vertical_margin"
    android:paddingLeft="@dimen/activity_horizontal_margin"
    android:paddingRight="@dimen/activity_horizontal_margin"
    android:background="@color/colorBackground">

    <Button
        android:layout_width="match_parent"
        android:layout_height="wrap_content"
        android:id="@+id/select_friend"
        android:text="@string/select_friend"
        android:layout_marginTop="10dp"/>

    <Button
        android:layout_width="match_parent"
        android:layout_height="wrap_content"
        android:id="@+id/send_sup"
        android:text="@string/send_sup"
        android:layout_marginTop="10dp"/>

    <TextView
        android:layout_width="match_parent"
        android:layout_height="wrap_content"
        android:id="@+id/last_sup_sent"
        android:text="@string/emptyLatestSup"
        android:layout_marginTop="10dp"/>

</LinearLayout>
You'll notice that there are four lines highlighted red. This means that they are errors. There are some resources we're trying to access that don't exist yet. We'll get to these in a bit.
Layout Properties
In the layout, we can see that each widget has various properties. We'll take a look at them now.
First we see a few lines:
<?xml version="1.0" encoding="utf-8">
<LinearLayout
    xmlns:android="http://schemas.android.com/apk/res/android"
    xmlns:tools="http://schemas.android.com/tools"
    tools:context=".SupActivity"
These are necessary to define the XML namespace. The first line is to define our XML configuration. The two lines beginning with xmlns specify namespaces. For example, xmlns:android allows the namespace android to stand in for the URL that it is defined by. Each time you see android in your layout, it is essentially standing in for the entire URL in its place.
The next line beginning with tools:context is to record which activity the layout is associated with.
We mentioned earlier that all widgets must have android:layout_width and android:layout_height. These are reflected above. android:layout_width and android:layout_height can either be an integer, fill_parent, match_parent, or wrap_content, all of which are fairly self-explanatory.
A LinearLayout component requires android:orientation to be filled in. This property has two options: vertical and horizontal.
You'll notice that the two Button widgets and one TextView widget have android:id properties. This is for identification when referencing this widget in code.
Additionally, all of the Button widgets also have android:text properties. This is to specify what the button will be labeled with.
The rest of the components in this LinearLayout are fairly self-explanatory--mostly for positioning within the layout.
Types of Resources
There are many types of resources that your app can use. The ones that are provided by default in your values directory are colors.xml, dimens.xml, strings.xml, and styles.xml.
styles.xml is useful for consolidating styling elements across multiple pages.
In dimens.xml, we store common dimensions for padding, margins, text sizes, etc. There are multiple files in this folder to accommodate for different form factors, or phone sizes.
More about Supporing Multiple Screens →
The ones we're going to focus on today are colors.xml and strings.xml
Color Resource
Open values/colors.xml and add the following to the bottom:
<color name="colorBackground">#CC0000</color>
The color provided is red, but you can use whatever hex code for color that you'd like.
This file is used to store color values so we don't have to keep track of the individual hex values. Instead, you can use more user-friendly words to keep track of the colors in your code. You can access this by using @color/green in your layout XML.
String Resource
Open values/strings.xml and add the following to the bottom:
<string name="select_friend">Choose a friend</string>
<string name="send_sup">Send \'Sup\'</string>
<string name="emptyLatestSup">todo: Last Sup sent</string>
These are the strings we're using in our layout/activity_sup.xml. You access these inside your layout XML by using @string/select_friend or any other string you've defined.
While we have this file open, add the following strings that we'll be using in a later step.
<string name="latestSupFormat">Last Sup sent to %1$s %2$s</string>
<string name="dateFormat">\'on\' M/d/yyy \'at\' h:mma</string>
<string name="noPhoneNumber">Please add a phone number!</string>
<string name="message">Sup</string>
<string name="sent">Sent!</string>
<string name="sup_error">Sending failed. Please try again later!</string>
The reason why we use a strings.xml is for localization purposes. This means that if you want to release your app in multiple languages, you can easily adjust change the strings in your app.
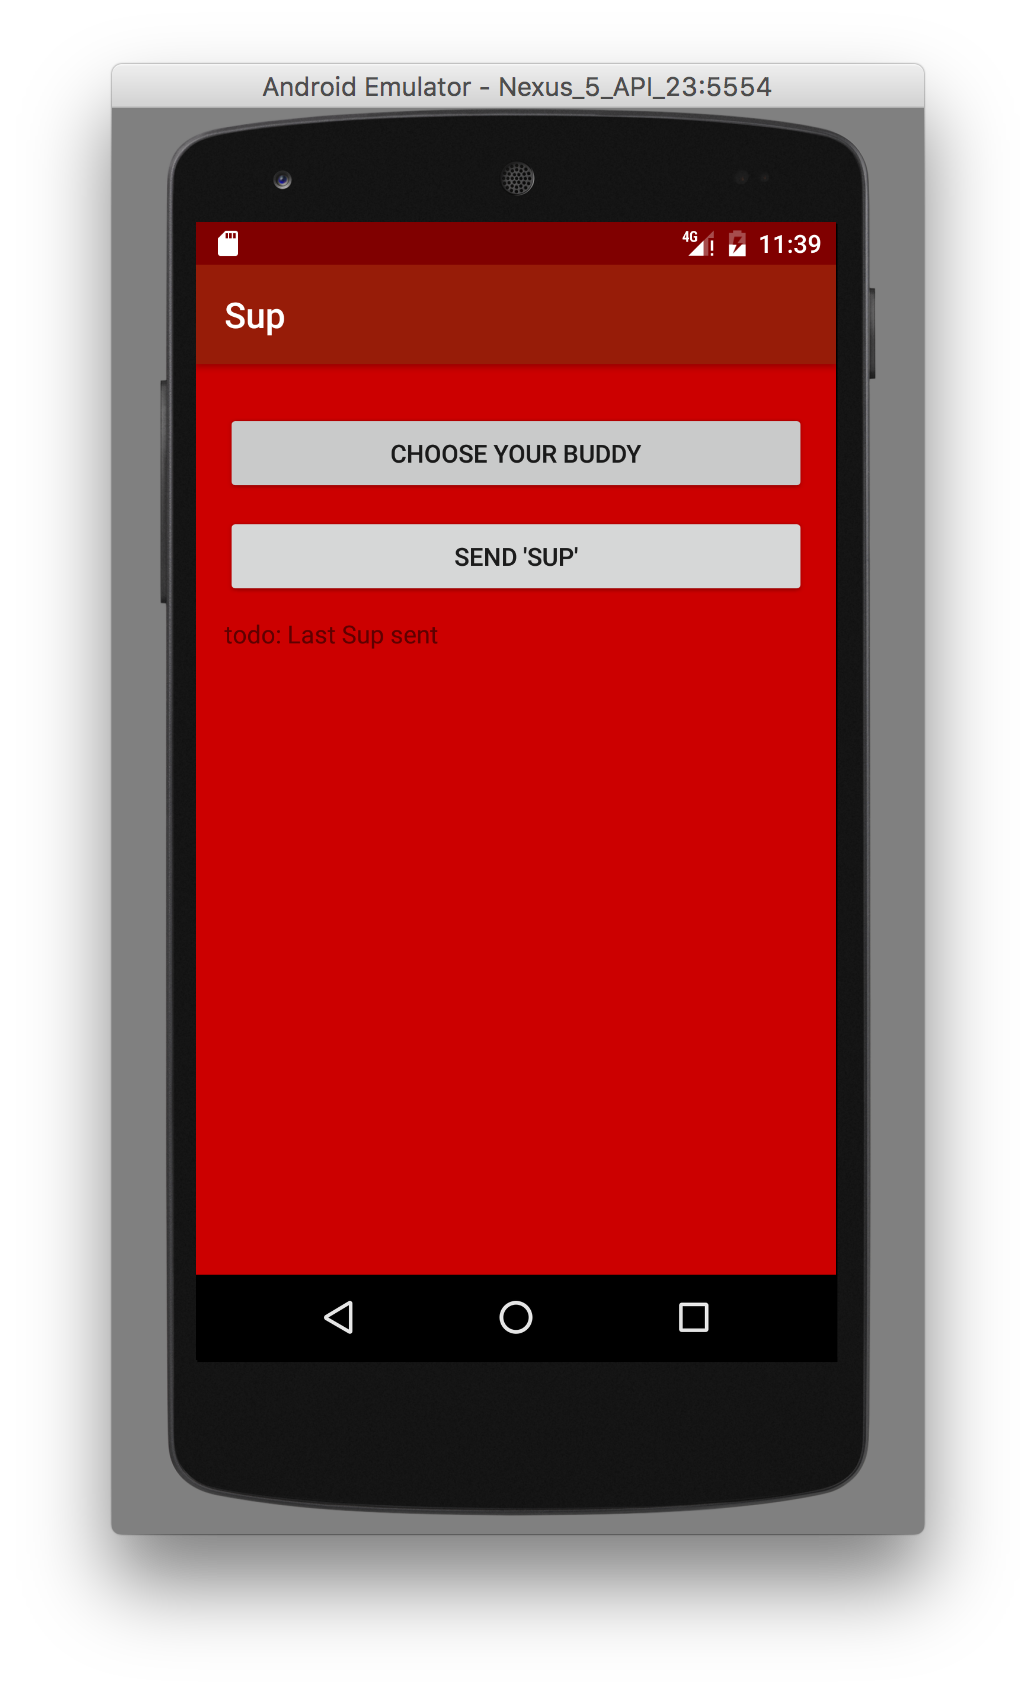
Run Your App
Open up /res/layout/activity_sup.xml. You'll see that what once was red now is green. This means that Android Studio was able to find the correct resources and replace them with the resources we've just added.
Just as before, click the green play button to run your app. You'll see that there's a little green circle at the bottom right of the play button. This just means that change were made since your last run. Now you can see the changes you've made. It should look something like the following: