Step 1: Hello World
Setting Up Your Workspace
- Import via Android Studio
- Import Manually
- Open up Android Studio and select Check out project from Version Control > GitHub.
- You'll need to login with your credentials you created in the Setup instructions.
- Enter https://github.com/android101-sup/Sup.git as the Git Repository URL.
- Use the default Gradle distribution.
- Android Studio will open up and warn you about Unconfigured Roots. You can ignore this message.
Note: If this doesn't work, try importing manually.
-
Open up your Terminal and type in the following:
git clone https://github.com/android101-sup/Sup.git
- Open up Android Studio and select Import Project (Eclipse, ADT, Gradle, etc.).
- Navigate to the directory in which you cloned the git repository in earlier.
- Expand the directory titled "Sup", select build.gradle, and select OK.
- Android Studio will open up and warn you about Unconfigured Roots. You can ignore this message.
Android Studio
In Android Studio, we have your Project File tree on the left, and your code workspace on the right. At the top, we have a toolbar, and highlighted in the screenshot below are the ones we'll be interacting with the most.
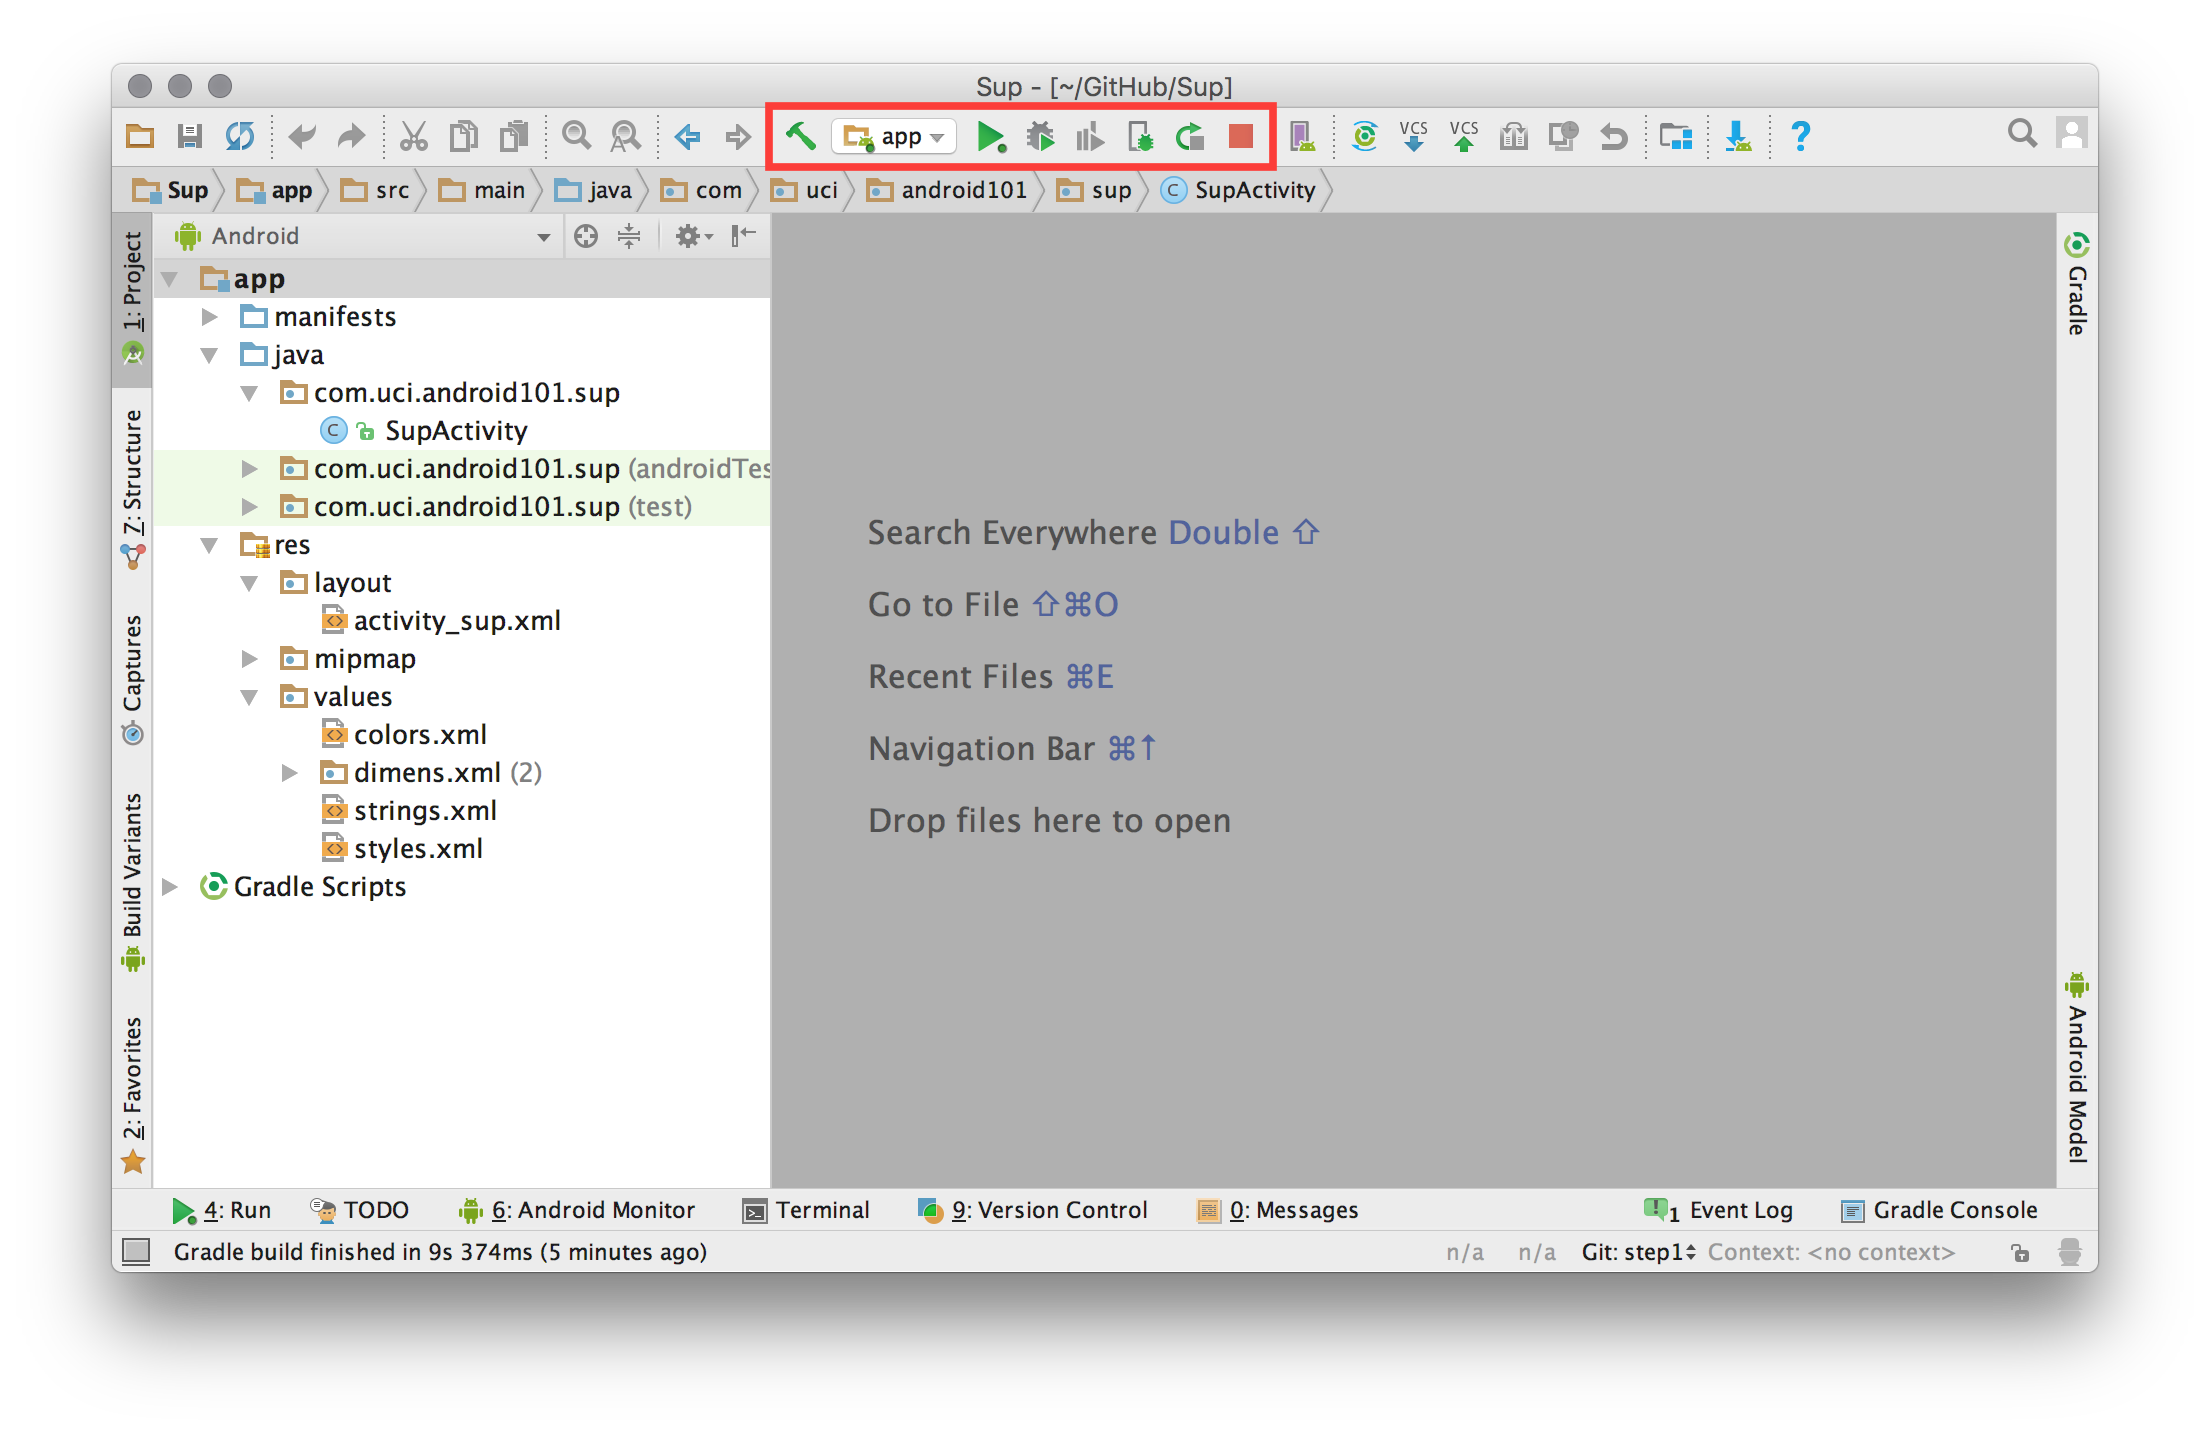
- The green play button is used to run whatever task you have specified in the dropdown menu to the left of it.
- By default, the dropdown menu is set to the application you're building now.
- To the right of the play button, we have a green bug that is used to debug and step through your code.
Run Your App
- Click the green arrow in your toolbar.
- Select the virtual device you created earlier.
- If an pop up shows up asking about an Instant Run, you can just Proceed without Instant Run.
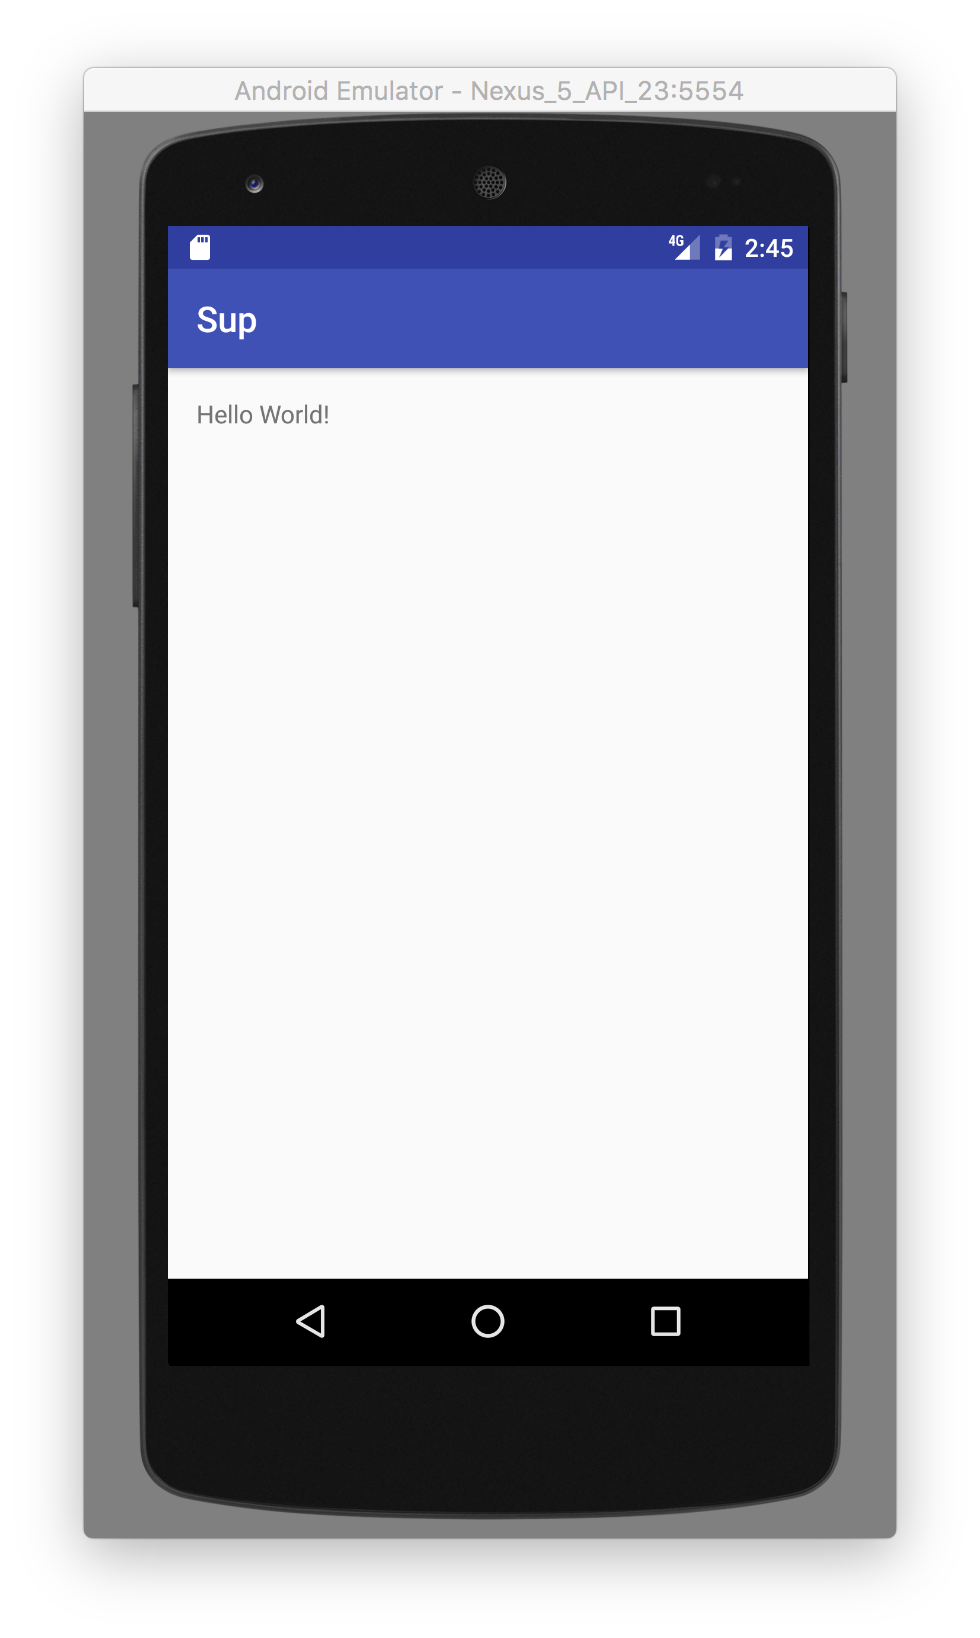
- Your emulator should start up and show your app running.
Note: if you are using your own device, you may need to enable USB debugging in your Developer Tools.
Your app should look like this:
Falling Behind?
Either through the Git Shell (Windows) or in your Terminal (all other OS's), in your project directory, enter:
git checkout step2